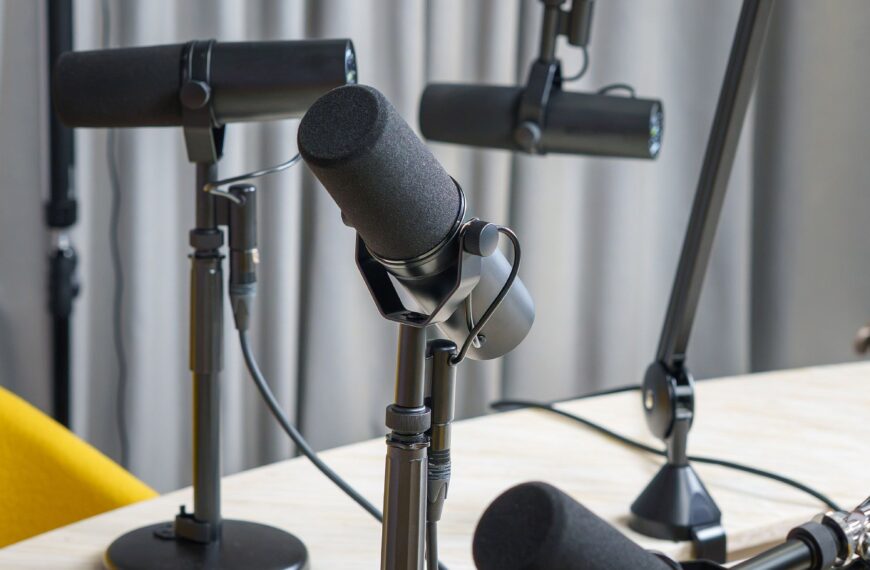
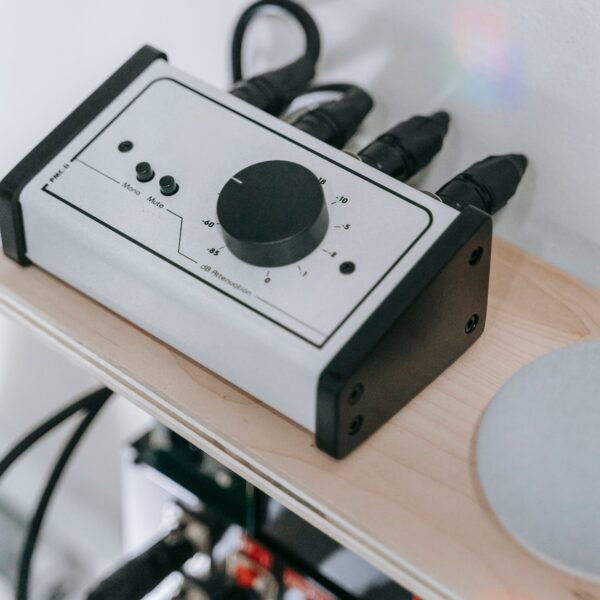
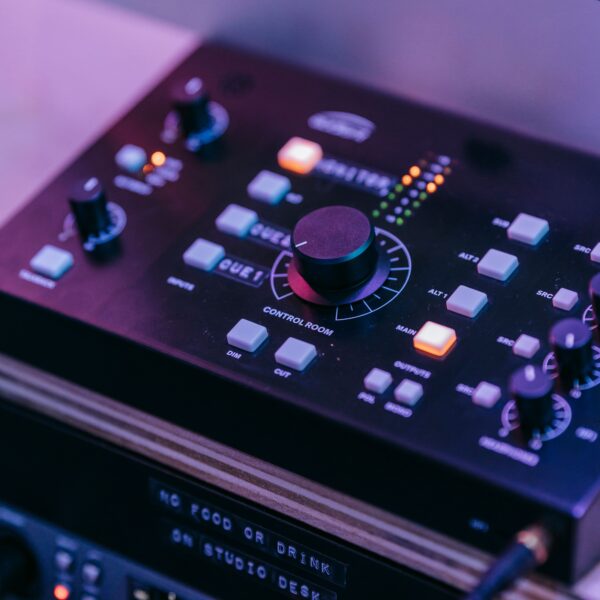
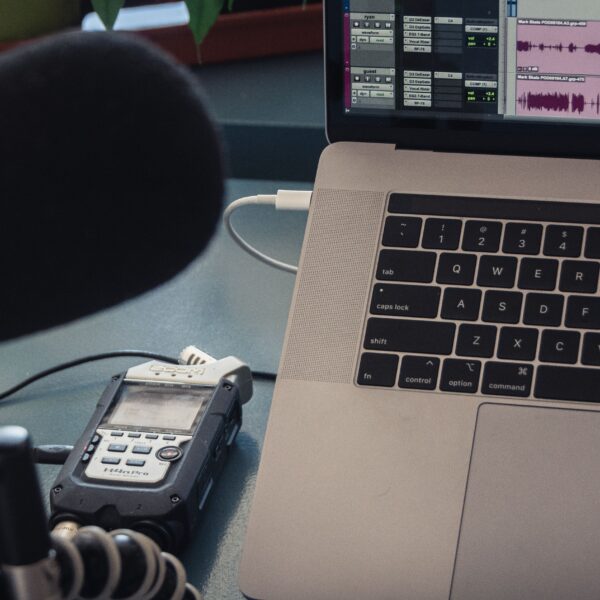
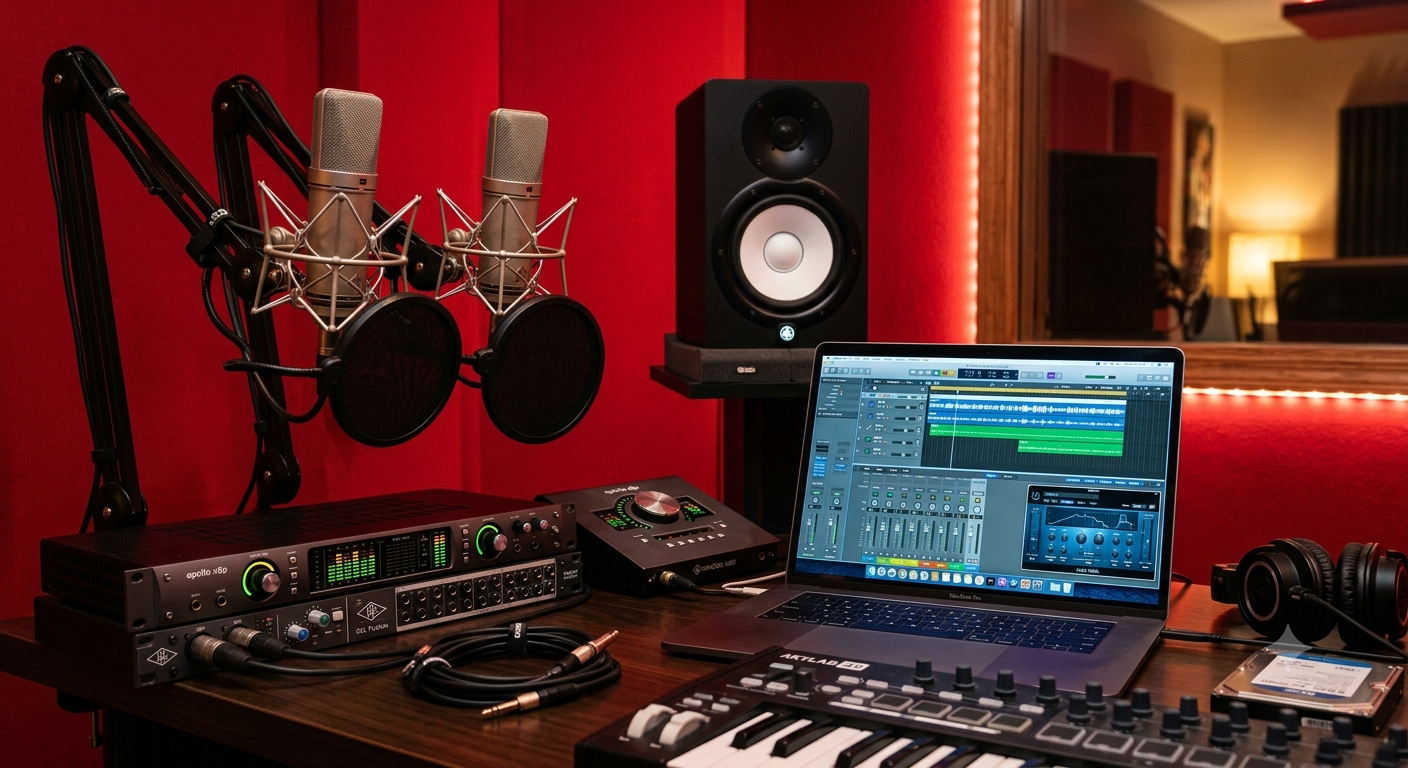
A home studio needs four things in priority order. A mic and interface matched to your room, a monitor pair sized to your space, basic acoustic treatment at your corners and first reflection points, and a correctly ordered signal chain connecting it all.
Here is the number that surprised me. A realistic minimum treatment package, four corner bass traps and three first-reflection panels, can be assembled for $150 to $250 using DIY materials, according to MusicProductionWiki’s 2026 breakdown.
By the end of this guide, you will know the real setup order, how much acoustic treatment you actually need, and the most common mistakes that waste money on gear instead of the room.
This guide draws on manufacturer documentation and independent acoustic treatment guides. It does not rest on bench testing, so I name the source whenever I share a specific figure.
The Short Version
- Pick a mic and interface that fit your room and your source, not the most expensive option
- Size your monitors to your room, usually 5 inch for a typical bedroom studio
- Treat your room before you buy more gear, corners first, then first reflection points
- Connect everything in the right signal chain order and verify each link works
- Set gain, position your mic, and do a test recording before committing to a session
The rest of this guide covers each step, since most home studios go wrong by reversing this order, buying gear first and treating the room last, if ever.
Why Does Room Treatment Come Before More Gear?
Because an untreated room limits every microphone and monitor in it equally, no matter how much they cost.
GetMoreStreams calls acoustic treatment the single highest-impact upgrade most home producers ignore. A separate 2026 guide from AudioTechExpert agrees even more directly, stating that effective room treatment transforms any monitoring environment more dramatically than upgrading speakers or other gear.
That ordering matters for your budget too. Spending $300 on a slightly better mic in an untreated room usually does less for your recordings than spending that same $300 on bass traps and reflection panels.
What Does Acoustic Treatment Actually Fix?
Three specific, diagnosable problems, not a vague sense of better sound.
GetMoreStreams lays out the diagnostic test plainly. Clap-test ringing in your room means flutter echo, which absorption fixes. Boomy or uneven bass means room modes, which bass traps fix. A smeared stereo image while mixing means early reflections, which first-reflection panels fix.
Each problem has a different fix, which is why throwing foam at a room randomly rarely works as well as targeting the actual issue.
Where Does Treatment Actually Go?
Two locations matter more than everywhere else combined, and nearly every source agrees on the priority order.
Corner bass traps, first
SonusGearFlow’s 2026 guide calls bass traps universal, since every room needs them, bass problems exist regardless of room size or shape. Jamzard’s acoustic treatment guide goes further, calling floor-to-ceiling corner bass traps the biggest, most-ignored improvement available.
Treat the front two corners first if budget is tight, all four if you can. Jamzard recommends material 6 inches thick or more, since foam tiles do nothing meaningful for bass.
First reflection points, second
Find these with what multiple guides call the mirror trick. Sit in your normal mixing position. Have someone slide a mirror along each side wall at speaker height. Wherever you can see the speaker’s tweeter in the mirror from your seat, that spot is a first reflection point.
Treat that spot on both side walls, plus the matching point on the ceiling directly above your head. AudioTechExpert specifies 2 inch thick foam panels work well for this job, since the frequencies involved sit above 500Hz, unlike the low frequencies bass traps handle.
How Much Treatment Do You Actually Need?
Less than you probably think, and more is not always better.
Multiple 2026 sources converge on the same number. Jamzard’s acoustic treatment guide and GetMoreStreams both recommend roughly 20 to 30 percent of wall and ceiling surface covered with effective treatment, prioritizing corners and reflection points over blanket coverage.
AudioSilk’s beginner guide names a real mistake that over-treating causes. An over-absorbed room creates an unnaturally dead space that is genuinely unpleasant to work in, not just unnecessary. The same guide flags asymmetrical treatment as another common error, since uneven left and right side treatment throws off your stereo image just as much as no treatment at all.
For a typical 10 by 12 foot bedroom studio, JHBrandt’s 2026 trends report estimates 8 to 12 bass traps and 6 to 10 wall panels as a realistic full treatment, though the minimum viable version above costs far less.
What Order Should You Connect Your Gear?
A consistent chain prevents the most common first-session problems.
- Install your interface’s driver before connecting anything. Our audio interface setup guide covers this step in full
- Connect your mic to the interface with phantom power off, then turn it on afterward for condenser mics
- Connect your monitors to the interface’s line outputs, not the headphone jack
- Connect headphones to the interface’s dedicated headphone output for monitoring while you set levels
- Open your DAW and confirm it sees the interface as both input and output device
Need picks for the interface and monitors themselves? Our best 2 channel audio interface and best studio monitors guides cover real options by budget and room size.
How Should Monitors Be Positioned?
Position matters as much as the monitors themselves, and it costs nothing to get right.
AudioSilk’s beginner guide puts speaker and listening position optimization as the very first step in its action plan, ahead of buying any treatment at all. The core setup forms an equilateral triangle, your two monitors and your head at the mixing position, each side roughly equal length.
Our best studio monitors guide covers which woofer size actually fits which room dimensions, since oversized monitors in a small room create more bass problems than they solve.
What Mistakes Waste the Most Money?
Three specific ones, named consistently across the sources I checked.
AudioSilk’s guide lists ignoring bass issues below 300Hz as a genuine error, since problems in that range cause buildup and cancellation that no amount of EQ fixes cleanly. The same guide flags placing monitors incorrectly as a mistake that defeats even perfect acoustic treatment, since position comes first.
The third mistake is buying acoustic foam expecting it to fix bass. GetMoreStreams calls this the most common misconception in the entire topic. Foam tiles handle mid and high frequencies. Bass needs thick, dense corner bass traps, mineral wool or rigid fiberglass, not foam.
My take as a musician. Every home studio I have ever seen overspend did it on a shinier mic before fixing a room that made any mic sound worse 🎸
What Should You Prioritize on a Tight Budget?
SonusGearFlow’s priority order for budget builds lines up closely with every other source checked for this guide.
- Bass traps in all four corners, floor to ceiling if possible
- Absorption at first reflection points, found with the mirror test
- A cloud panel directly above the listening position
- Rear wall treatment, absorption or diffusion
- Additional panels as budget allows
Notice gear upgrades don’t appear on this list at all. Treatment comes first, every time, across every source.
Does Room Shape Change the Approach?
Yes, specifically for rectangular rooms, which is most bedrooms used as studios.
JHBrandt’s 2026 trends report names rectangular rooms directly and recommends bass traps in all four corners plus absorption panels at first reflection points, with diffusion on the rear wall specifically to break up standing waves that rectangular dimensions create more predictably than irregular rooms.
A square room is actually a harder case than a rectangle, since it reinforces the same standing wave frequencies on every axis. If your room is close to square, prioritize corner bass traps even more heavily than the general guidance above suggests.
What About Recording With Other People in the Room?
The setup order stays the same, but your interface choice changes.
A solo setup only ever needs one mic input active. A two person podcast or a singer-guitarist needs two. Recording a band or a three-plus person panel needs more inputs than a standard 2 channel interface provides.
Treatment priorities shift slightly too. With multiple sound sources in one room, controlling bleed between mics matters as much as controlling reflections, which is why many multi-person setups add gobos or portable absorption panels between performers in addition to the fixed wall treatment covered above.
What Should Your First Three Purchases Be?
Order matters more than any individual product.
- Just starting, tightest budget. Four DIY corner bass traps and mirror-test reflection panels first, gear second
- Room already roughly treated. A 2 channel interface and a mic matched to your room’s noise level
- Interface and mic already sorted. Studio monitors sized correctly for your room dimensions
- Everything above handled. Expand treatment toward the 20 to 30 percent coverage target
Did You Know 🤯
A minimum viable acoustic treatment package, four corner bass traps and three first-reflection panels, can be assembled for $150 to $250 using DIY materials, according to MusicProductionWiki’s 2026 breakdown, well under the cost of most single microphone upgrades.
Home Studio Setup FAQ
Does acoustic foam fix bass problems?
No.
Foam handles mid and high frequencies only. Bass needs thick, dense corner bass traps.
How do I find my first reflection points?
With the mirror trick.
Have someone slide a mirror along each side wall at speaker height while you sit in your mixing position. Where you see the speaker, that’s the spot.
How much wall coverage is enough?
Roughly 20 to 30 percent.
Full coverage over-deadens the room and makes it unpleasant to work in.
Should I buy gear or treat the room first?
Treat the room first.
Room treatment affects every mic and monitor equally, while gear upgrades only affect themselves.
Do I need treatment if I only record vocals?
Yes, though less than a full mixing room.
A dynamic mic plus a few reflection panels behind and around the mic position covers most vocal-only setups.
So treat your room first, connect your gear second, and start recording 🎶
As an Amazon Associate I earn from qualifying purchases. There are some affiliate links on this page that will redirect you directly to the original products and services. Also by buying through those links you will be supporting us. So thank you ^.^
Related Posts
Here is a list of interface and studio gear posts you can consider as alternatives.
- Best Studio Monitors for Home Studio
- Best 2 Channel Audio Interface
- How to Connect an Audio Interface to a Computer
- Good Audio Interface for Home Studio
- XLR vs USB Microphone
- Best Condenser Mic Under $100
- Best XLR Microphone Under $100
- Best Budget Audio Interface
- Best Audio Interface for Podcasting
- Best Headphones for Audio Mixing